Viewers
Examples
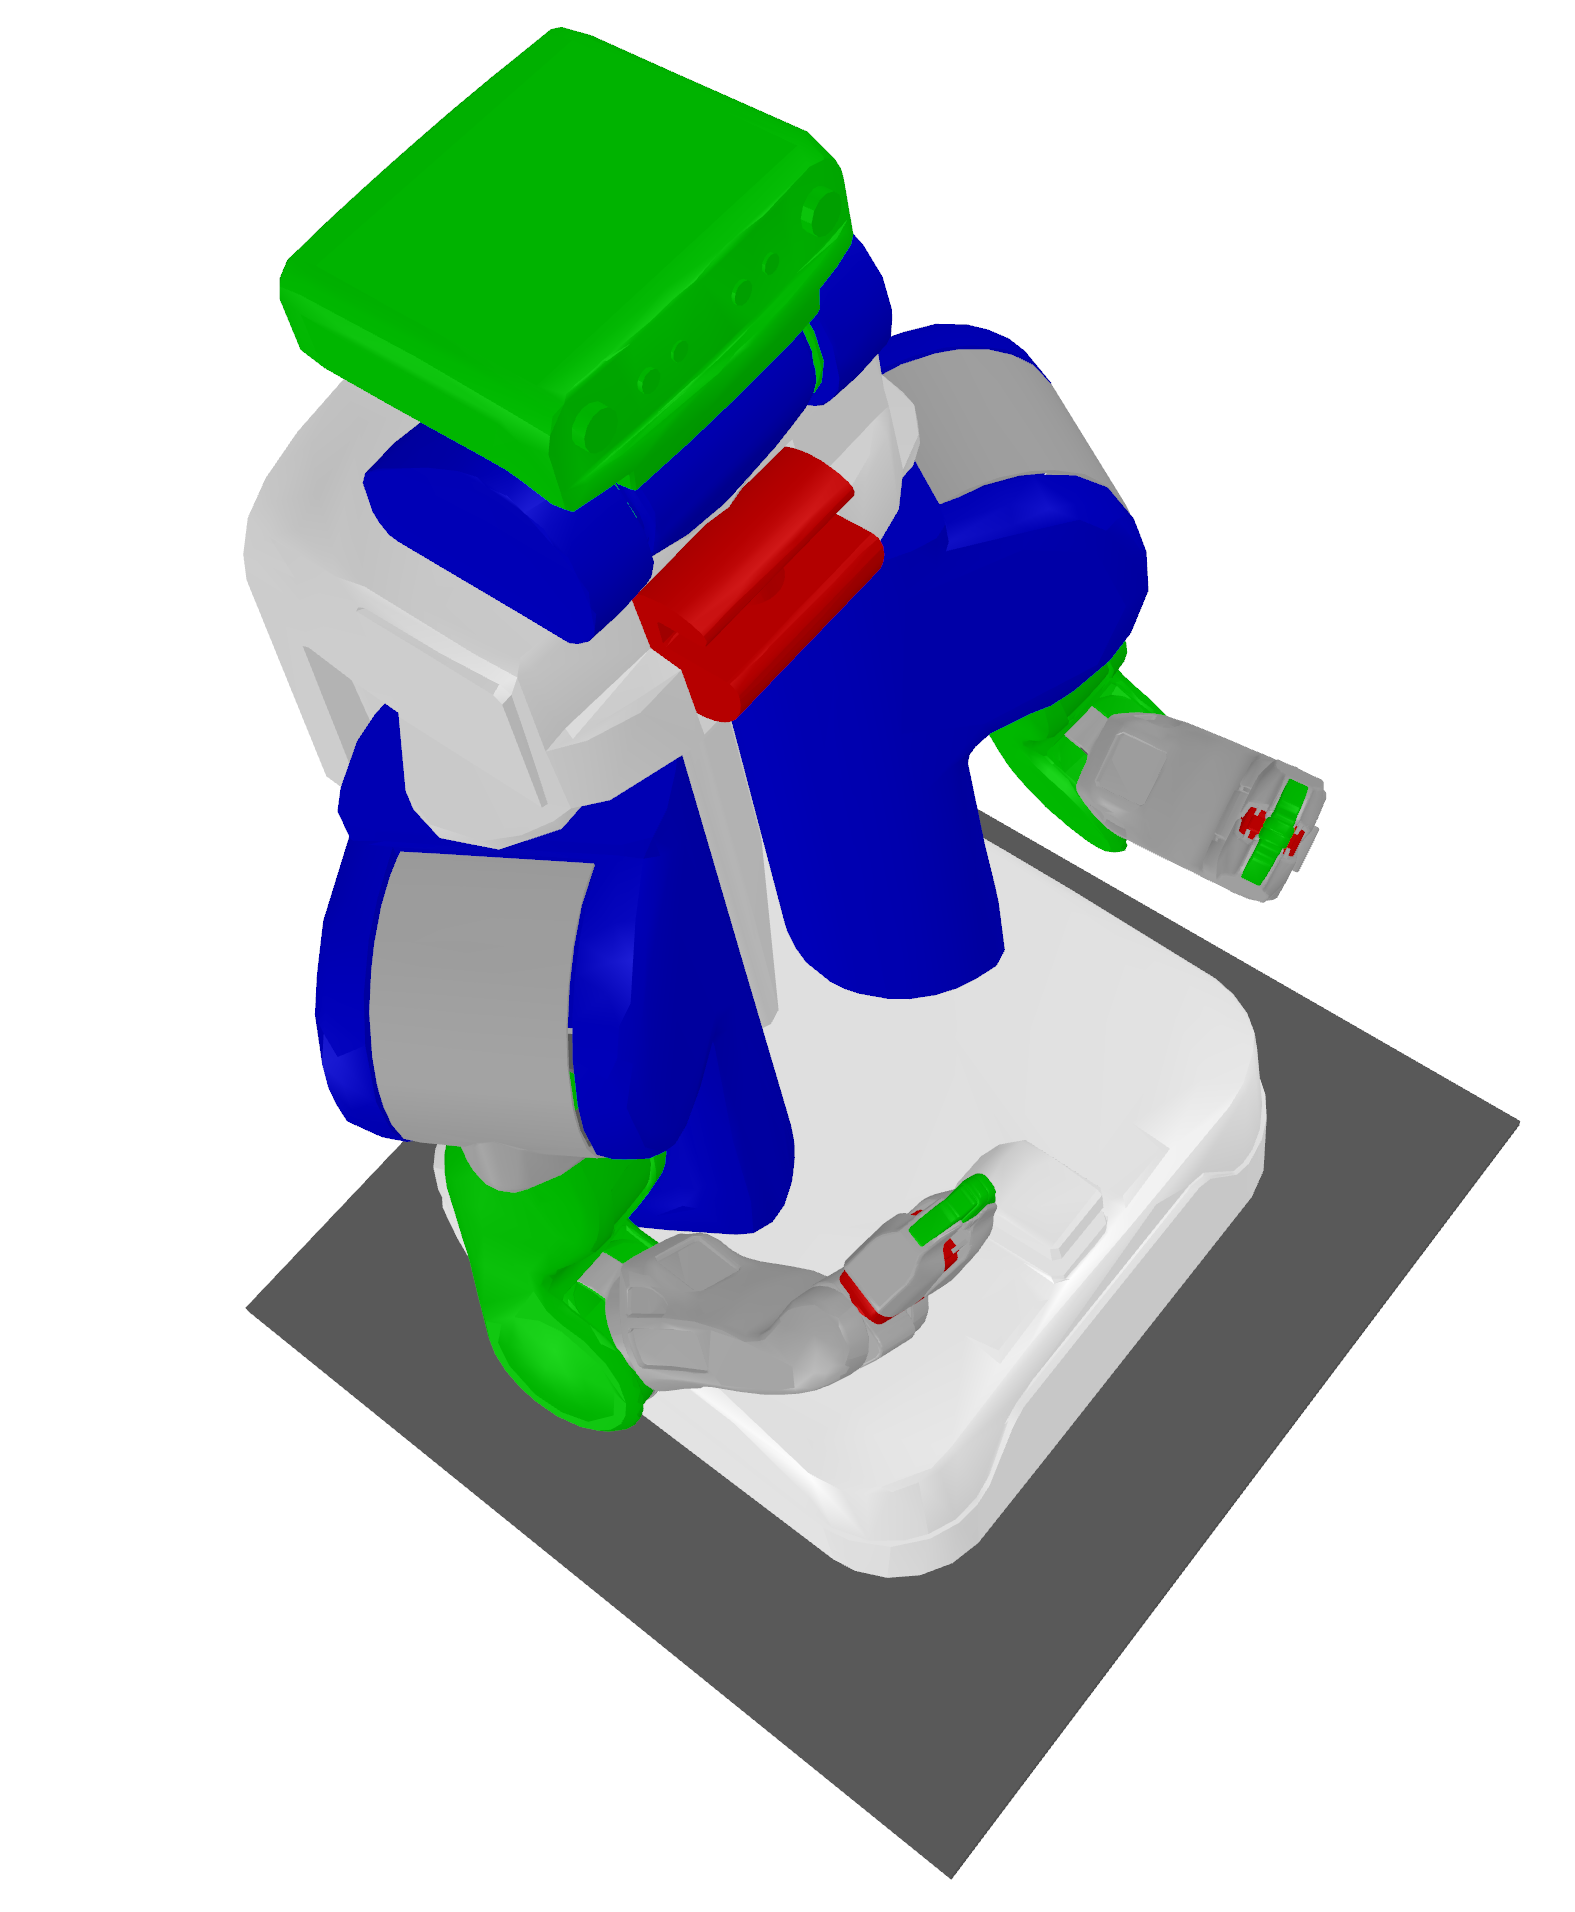
You can easily try out visualization programs using the examples found in scikit-robot/examples
python robot_models.py --viewer trimesh

CommandLine Tools
You can easily visualize a URDF by providing it as an argument to the visualize-urdf command.
visualize-urdf ~/.skrobot/pr2_description/pr2.urdf
Viewer classes
TrimeshSceneViewer
- Description:
The
TrimeshSceneVieweris an extension of thetrimesh.viewer.SceneViewertailored for visualizing 3D scenes using the Trimesh library. It is specifically designed for 3D triangle meshes visualization and manipulation in robotic applications.
Key Functionalities:
Initialization and Configuration: Initializes with options for screen resolution and an update interval. It sets up a scene using Trimesh to manage various geometrical entities.
Rendering Control: Manages redraws upon user interactions such as mouse clicks, drags, scrolls, and key presses. It also handles window resizing events to ensure the scene is accurately rendered.
Scene Management: Supports dynamic addition and deletion of geometrical entities. It allows management of links and their associated meshes, enabling real-time updates based on robotic movements.
Camera Management: Facilitates camera positioning and orientation, allowing for customizable views based on specified angles and transformations reflective of the robotic link configurations.
PyrenderViewer
- Description:
The
PyrenderViewerutilizes the Pyrender library for advanced 3D rendering, ideal for creating realistic visual simulations. This viewer is implemented as a Singleton to ensure only one instance exists throughout the program. It’s particularly suited for complex rendering tasks in robotics, including detailed lighting, shading effects, and collision visualization.
Key Functionalities:
Initialization and Configuration: The viewer is initialized with specified resolution, update interval, and rendering flags. Key parameters include:
resolution: Window size (default:(640, 480))update_interval: Update frequency in seconds (default:1 / 30, i.e. 30 Hz)enable_collision_toggle: Enable collision/visual mesh switching (default:True)title: Window title (default:'scikit-robot PyrenderViewer')
Rendering Control: Handles real-time scene updates triggered by user interactions. The viewer automatically manages OpenGL compatibility with fallback support from OpenGL 4.1 → 4.0 → 3.3, ensuring robust operation across different systems including WSL2.
Scene Management: Supports dynamic addition and removal of visual and collision meshes linked to robotic models. The viewer maintains real-time synchronization with robot configurations through the
redraw()method.Camera Management: Offers detailed camera setup options through the
set_camera()method:Angle-based positioning with Euler angles
Distance and center point configuration
Field of view (FOV) adjustment
Direct Coordinates object support for precise camera placement
Collision/Visual Mesh Toggle: When
enable_collision_toggle=True, press thevkey to switch between:Visual meshes: Default appearance meshes for rendering (left in figure below)
Collision meshes: Simplified meshes used for collision detection (displayed in orange/transparent, right in figure below)

Visual mesh (left) vs Collision mesh (right). The visual mesh shows the detailed appearance of the robot with textured wheels. The collision mesh on the right uses simplified cylinder representations for the wheels, which are computationally more efficient for collision detection algorithms.
360-Degree Image Capture: The
capture_360_images()method enables automated scene capture from multiple angles:Configurable number of frames and camera elevation
Automatic GIF animation generation
Transparent background support
Custom lighting configuration options
Keyboard Controls:
The PyrenderViewer provides extensive keyboard controls for interactive manipulation:
Key |
Function |
|---|---|
|
Toggle rotational animation mode |
|
Toggle backface culling |
|
Toggle fullscreen mode |
|
Toggle shadow rendering (may impact performance) |
|
Cycle through axis display modes (none → world → mesh → all) |
|
Toggle joint axes display (shows/hides joint positions and axes for all robots) |
|
Cycle lighting modes (scene → Raymond → direct) |
|
Toggle face normal visualization |
|
Toggle vertex normal visualization |
|
Toggle orthographic camera mode |
|
Quit the viewer |
|
Start/stop GIF recording (opens file dialog on stop) |
|
Save current view as image (opens file dialog) |
|
Toggle between visual and collision meshes (if enabled) |
|
Cycle wireframe modes |
|
Reset camera to default view |
Mouse Controls:
Left-click + drag: Rotate camera around scene center
Ctrl + Left-click + drag: Rotate camera around viewing axis
Shift + Left-click + drag or Middle-click + drag: Pan camera
Right-click + drag or Scroll wheel: Zoom in/out
Example Usage:
Basic viewer initialization and robot display:
from skrobot.viewers import PyrenderViewer
from skrobot.models import PR2

# Create viewer instance (Singleton pattern ensures only one instance)
viewer = PyrenderViewer(resolution=(800, 600), update_interval=1.0/30)

# Load and add robot model
robot = PR2()
viewer.add(robot)

# Show the viewer window
viewer.show()

# Update robot pose and redraw
robot.reset_manip_pose()
viewer.redraw()
Collision/Visual mesh toggle example:
# Enable collision toggle functionality
viewer = PyrenderViewer(enable_collision_toggle=True)

# Add robot to viewer
viewer.add(robot)
viewer.show()

# Press 'v' key in the viewer to toggle between visual and collision meshes
# Collision meshes will appear in orange/transparent color

# The visual mesh displays the full detailed geometry with textures
# while collision mesh shows simplified shapes (e.g., cylinders for wheels)
# optimized for physics calculations
360-degree image capture example:
# Capture 360-degree rotation images
viewer.capture_360_images(
    output_dir="./robot_360",
    num_frames=36,  # One image every 10 degrees
    camera_elevation=45,  # Camera elevation angle
    create_gif=True,  # Generate animated GIF
    gif_duration=100,  # 100ms between frames
    transparent_background=True  # Render with transparent background
)
ViserViewer
- Description:
The
ViserVieweris a web-based 3D viewer built on the Viser library. It provides an interactive browser interface with GUI controls for manipulating robot joint angles and real-time inverse kinematics (IK).
Key Functionalities:
Web-based Interface: Opens in your web browser, allowing remote access and cross-platform compatibility without requiring native window dependencies.
Interactive Joint Control: Provides GUI sliders for each robot joint, organized by joint groups. Adjusting a slider immediately updates the robot visualization in real-time.
Interactive Inverse Kinematics: When
enable_ik=True, the viewer automatically detects end-effectors (arms, head, etc.) and adds transform controls at each end-effector position. Dragging these controls solves IK in real-time, updating both the robot pose and joint sliders.

Viser viewer with joint angle sliders
Interactive IK Demo:
The following video demonstrates the interactive IK feature, where dragging the transform controls at each end-effector solves inverse kinematics in real-time:
Example Usage:
from skrobot.viewers import ViserViewer
from skrobot.models import Panda

# Create viewer with interactive IK enabled
viewer = ViserViewer(enable_ik=True)

# Load and add robot model
robot = Panda()
viewer.add(robot)

# Position the camera. ViserViewer implements the same set_camera API as
# the trimesh / pyrender viewers, so the call is identical across backends.
import numpy as np
viewer.set_camera([0, 0, np.pi / 2.0])

# Open browser to view
viewer.show()

# Block until the browser tab / window is closed
viewer.wait_until_close()
Command Line Usage:
# Use viser viewer with visualize-urdf command (IK is enabled by default)
skr visualize-urdf ~/.skrobot/pr2_description/pr2.urdf --viewer viser
Note
Both TrimeshSceneViewer and PyrenderViewer update at 30 Hz by default (update_interval=1/30). The viewer only re-renders when the scene actually changes (e.g. after redraw()), so a static view stays cheap even at 30 Hz. The update_interval controls how often the redraw() request is polled: a smaller value gives a higher refresh rate (smoother interaction and animation) at the cost of more idle CPU, while a larger value lowers idle CPU usage.
Example usage:
# 30 Hz is already the default; pass update_interval only to override it.
viewer = skrobot.viewers.TrimeshSceneViewer(resolution=(640, 480), update_interval=1.0/30)   # 30 Hz (default)
viewer = skrobot.viewers.PyrenderViewer(resolution=(640, 480), update_interval=1.0)           # 1 Hz, lower idle CPU
Selecting a viewer
Use skrobot.viewers.create_viewer() to pick a backend by name instead of
importing a specific class. This is convenient for example scripts and
applications that expose a --viewer option:
import skrobot

# name is one of 'trimesh', 'pyrender', 'viser' or 'notebook'
viewer = skrobot.viewers.create_viewer('pyrender', resolution=(640, 480))
viewer.add(skrobot.models.PR2())
viewer.show()
Keyword arguments are forwarded to the selected viewer’s constructor. Options a
backend does not accept are ignored, so the same call works across backends
(for example resolution applies to the trimesh / pyrender viewers but is
dropped for viser, which serves over a browser, while enable_ik applies
only to viser). An unknown name raises ValueError.
Interactive helpers
Every interactive viewer (TrimeshSceneViewer, PyrenderViewer and
ViserViewer) shares two convenience methods.
- wait_until_close()
Block until the viewer window is closed, pumping
redraw()while waiting. It replaces the boilerplatewhile viewer.is_active: time.sleep(...); viewer.redraw()loop:viewer.show() viewer.wait_until_close() # returns once the window / tab is closed
- pause(duration, fps=30.0)
Pause for
durationseconds while keeping the window interactive. Use it in place oftime.sleep(duration)inside animation loops. On macOS the trimesh and pyrender viewers run their GL event loop on the main thread, so a baretime.sleepfreezes the window (the camera cannot be dragged) for the whole pause because no events are dispatched.pauseinstead pumpsredraw()atfps(default 30 Hz) for the entire duration, so the view stays responsive. On backends that already render in a separate thread (trimesh / pyrender on Linux) or process (viser) the extra redraws are harmless.for av in trajectory: robot.angle_vector(av) viewer.pause(1.0) # show this pose for 1 s; camera stays draggable
Color Management
Changing Colors:
To enhance the visibility and distinction of different components in a robot model, users can change the colors of individual links or the entire robot. This can be done using the set_color method, which applies a specified RGBA color to the link. The reset_color method restores the original color of the link, allowing for easy toggling between custom and default visualizations.
import time
from skrobot.viewers import TrimeshSceneViewer
from skrobot.models import PR2
import numpy as np

viewer = TrimeshSceneViewer()
robot_model = PR2()
viewer.add(robot_model)
viewer.show()

# Setting the color to red with some transparency
color = [255, 0, 0, 200]
for link in robot_model.find_link_path(robot_model.rarm_root_link, robot_model.r_gripper_l_finger_tip_link) + robot_model.find_link_path(robot_model.rarm_root_link, robot_model.r_gripper_r_finger_tip_link):
    link.set_color(color)

# Resetting the color to default
for link in robot_model.find_link_path(robot_model.rarm_root_link, robot_model.r_gripper_l_finger_tip_link) + robot_model.find_link_path(robot_model.rarm_root_link, robot_model.r_gripper_r_finger_tip_link):
    link.reset_color()
